How to Write Rich Blog Post Outlines in 6 Simple Steps
Learning to write a blog post outline is one of the best things a writer can do.
You might be rolling your eyes thinking it's the easiest thing in the world.
After all, you just have to whack a few bullet points together, right?
Well, yes, you can.
But that won't make for a great blog post outline and it could lead to gaps in information when it comes to writing your draft.
Think about it:
You've got an amazing idea swirling around in your head.
You jot down some bullet points on a blank page and file it for later.
You'll come back to it when you've got time to hash out the draft.
A week later, you finally find the time.
Only, you take one look at the bullet points and you're brain goes blank.
What were your thoughts again? Why were you so excited about this blog post?
This is why writing a solid and actively useful blog post outline is crucial.
Over the past seven years, I've gone from creating half-assed outlines that give very little away (I figured I'd do most of the work at draft stage) to creating in-depth outlines that give clients everything they need to know before I start writing.
Why A Decent Blog Post Outline is Key:
Everyone's on the same page (clients, colleagues, and stakeholders are able to see what the purpose, message, and goal of the piece is)
You avoid going off on irrelevant tangents
By front-loading your research, you remove some of the pressure and hard work at draft stage
You can quickly see where any knowledge gaps are and fill those out
It makes writing the draft so much easier
In the past, I'd whip up an outline in a matter of minutes.
I'd get the gist down on paper and assign myself the difficult tasks at draft stage.
But when it came to writing the draft, I'd spend hours going down research rabbit holes that amounted to nothing and regularly lost the direction of a piece.
With a detailed blog post outline, I can write a draft in less than an hour because I have all the information I need at my fingertips.
Top Tips to Make Your Blog Post Outline Work For You
There are a couple of things you need in place before you start work on your blog post outline. Doing these activities will reduce the risk of confused clients, unhappy bosses, and unengaged readers.
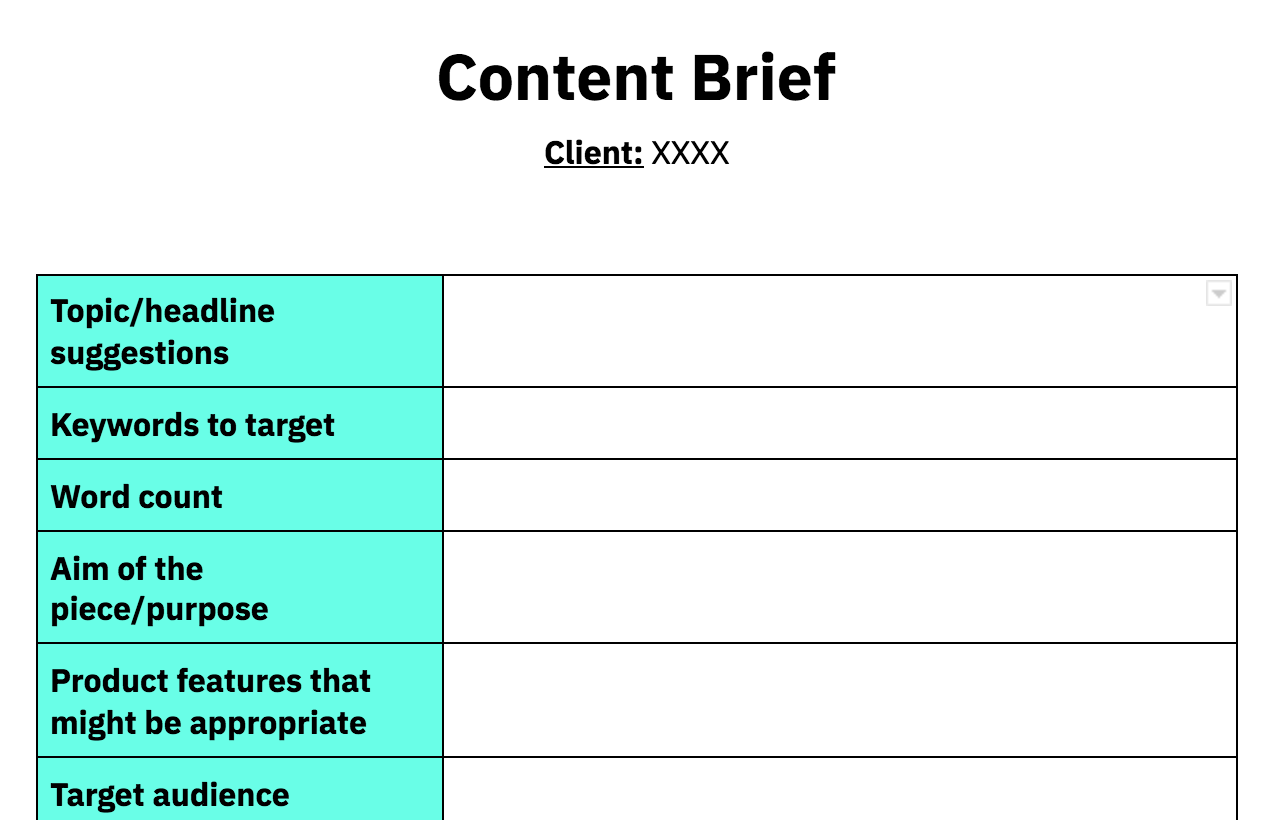
Build out a brief - make sure you know exactly what the piece should be about and what it's purpose is (will it drive signups to your latest webinar or educate readers on a problem they didn't know they had?).
Create a one-stop shop - you don't want to have to navigate between multiple browser tabs, half-written documents, and emails when writing your outline. Instead, copy and paste all relevant information from your research into one document that you can start moving around and building out.
Have a headline in mind but don't tie yourself to it - it helps to have a couple of headline ideas so you can ensure your piece hits the target, but if you find your research brings up other things, feel free to cut yourself some slack (I always write the headline at the end of the outline and write at least 5-10 options before I choose the top 3 to share with clients).
Choose your document of choice - don't make writing a blog post outline harder than it needs to be. Choose a program you're comfortable and confident with. If you hate MS Word, don't use it! Even if your client wants you to submit in Word, you can always write your outline in a different program first (I personally love Google Docs because it makes client collaboration a breeze).
Access my full content brief here (just click “Make a Copy” and edit to suit you and your clients’ needs!).
How to Write a Blog Post Outline That's Basically a Draft
Now you're all set to start working on your outline.
The key is to gather as much information as possible at this stage and bring it all together.
I usually carry out 1-2 hours of research to begin with and drop every interesting stat, experiment, or examples I find into the outline doc.
At this point, I won't touch anything.
Once I've gathered everything I can find, this is what I do next:
Step 1: Gather Research
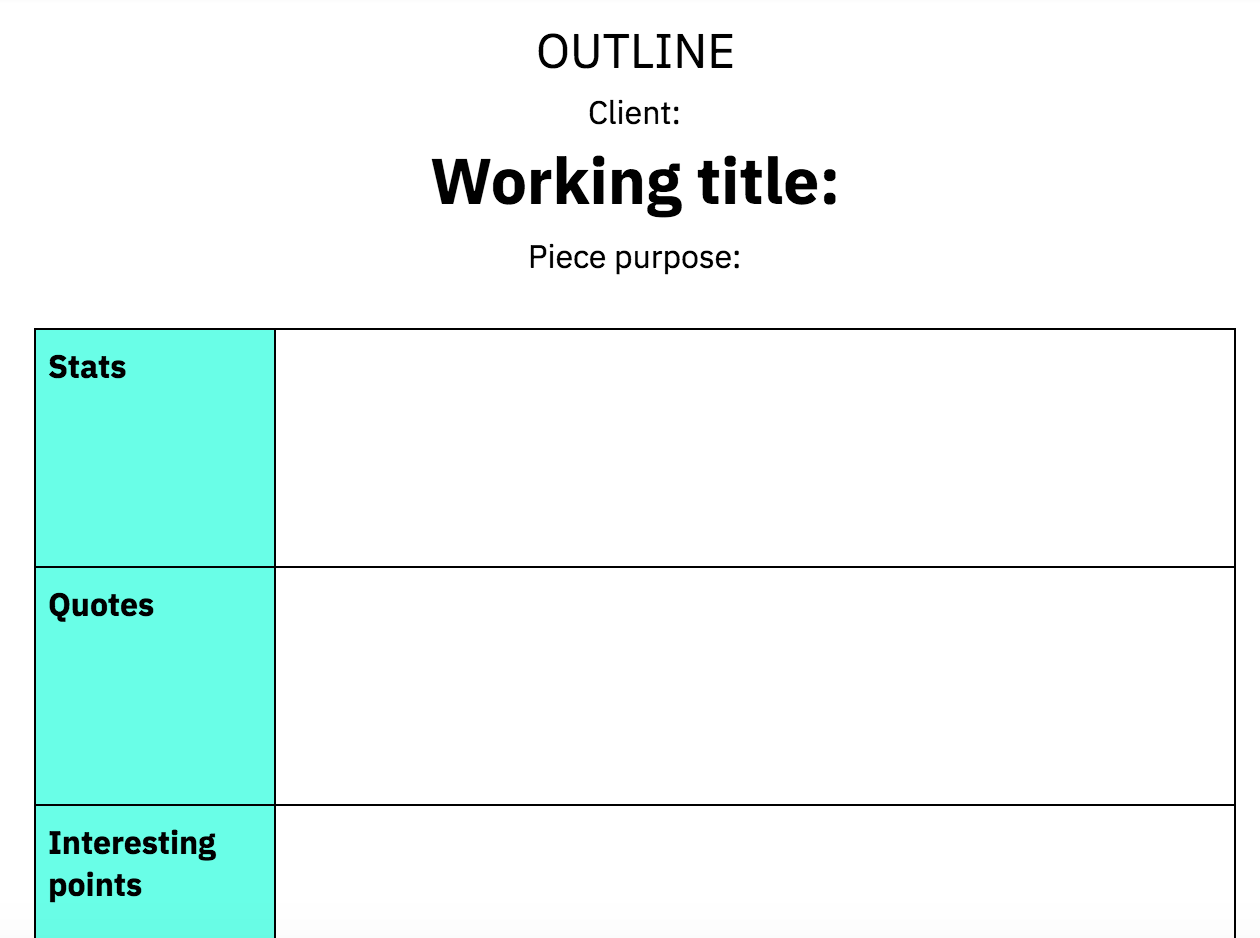
I create a little table at the top of my outlines where I dump any interesting facts and figures I find during my research.
The key is to make it as quick and easy as possible to jot data down so you can continue on your research journey.
For many writers, the research stage takes the longest, which is why it's important to optimise it as best as possible.
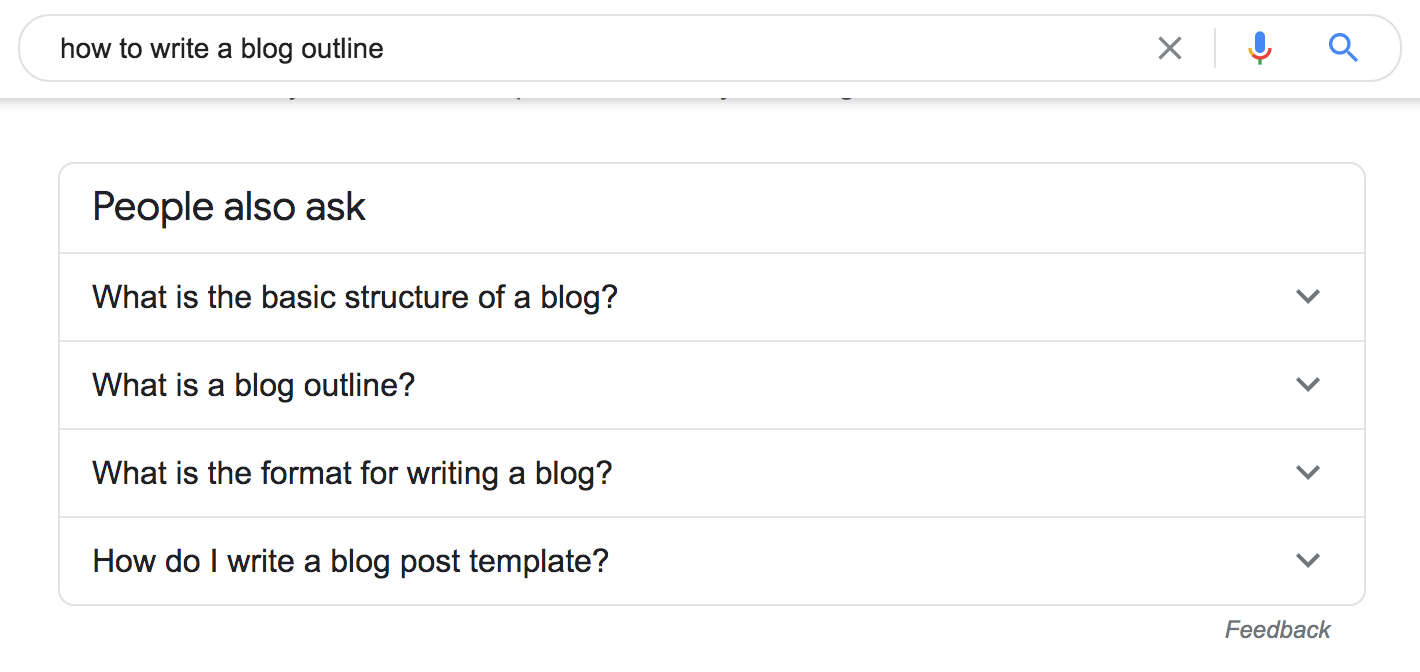
I also run keyword research at this point and collect commonly asked questions from Google's "People Also Asked" section and tools like Quora, Reddit, and Answer The Public.
At the top of the outline, I have a couple of tables.
One lets me dump stats and quotes so I can quickly access them when putting my outline together, and one for keywords.
Access my full blog post outline template here (again, just click “Make a Copy” and use until your heart’s content).
When I deliver the outline to clients, I remove the first table but keep the table featuring primary keywords, secondary keywords, and commonly asked questions.
Step 2: Create Each Section
Most blog posts will consist of multiple sections.
Best practices show that the more headers you have, the more readable your piece is, so multiple sections that are easy to navigate are important.
At this point, I go back through my research and group together themes and ideas.
For example, I might have a lot of stats that show why the activity I'm writing about is important, so I'll create a section titled "Why Writing a Blog Post Outline is Important" or "Why You Need to Use Self-Raising Flour".
I tend to break down my blog posts into the "why" and the "how" to provide as much context as possible for readers.
This also makes it easier to create a consistent outline that doesn't jump all over the place and flows nicely from one stage to the next.
As well as incorporating stats and data from the research stage, I'll also add reasoning behind these to provide backstory.
I'll also include my own ideas and opinions here too, including personal experiences if necessary.
It can help to include an approximate word count for each section so you know roughly how much to write at draft stage, but this isn't mandatory.
Step 3: Find and Add Examples
I always, always include examples to illustrate complex and even non-complex points.
It helps readers relate to what you're saying and makes things a whole lot more actionable.
At this point, I'll go through each section and identify points where an example will better illustrate my point.
For example, if I'm writing a piece on best cart abandonment emails, I'll include a few real-life examples from brands that are relevant to the piece.
To find these, I either tap into my own folder of examples that I collect while browsing the web, run a Google search, ask my network on Twitter, or use helpful resource tools like Really Good Emails.
I always add images to an outline so clients can get an idea of how the piece might look when it's finished.
Where I can't find examples or an example wouldn't benefit the piece, I'll see if I can weave in an analogy or a sample scenario.
Step 4: Find Final Data Points
By now, you should have a fairly solid draft shaping up that includes stats, quotes, examples, stories, and analogies.
The last thing I do before bullet pointing the conclusion is find some last minute data points to back up my own thoughts and opinions.
If there's somewhere I've made a point but haven't backed it up, I'll look for supporting stats from sites like Statista, MarketingProfs, or research-focused brands like Deloitte.
Statista is great for pulling graphs and getting data in a visual format.
Step 5: Introduction and Conclusion
I always leave the introduction and conclusion until last, because you never know what might crop up when you're researching and writing the outline.
At this point, I'll add in a few bullet points for each to give the client an idea about how I'm going to start it.
I also include the first sentence (a.k.a. the hook) as this is often the most important part of a piece.
After all, if it's crap, readers won't want to continue on.
Step 6: Alternative Headlines
Finally, I'll add in a few headline alternatives that better reflect the content of the piece.
Here, I'll incorporate the primary keyword and try and make it as engaging as possible.
You can use a tool like CoSchedule's headline analyser to determine how effective your headline will be. This also gives clients a choice of headline (and, let's face it, no one ever came up with an award-winning headline on their first shot).
Get Crafty With Your Blog Post Outlines
I used to hate writing blog post outlines with a fiery passion. Now, it’s one of my favourite parts of the job.
My homemade templates mean I’m not faced with the dreaded blank page, while the six-step system means I have a process to run through if (or, more likely, when) I get stuck.
Why not give it a go yourself?


